Views: 10 Author: Site Editor Publish Time: 2021-11-12 Origin: Site

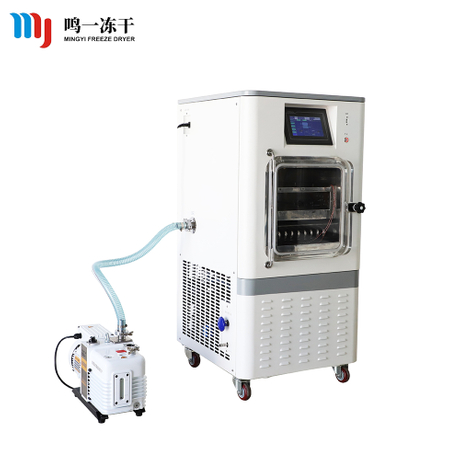
In recent years, laboratory freeze dryers have been widely used in the fields of bioengineering, pharmaceutical industry, food industry, material science, and deep processing of agricultural and sideline products. In order to better serve our users, the use of experimental freeze dryers and attention The matter made the following aspects:
Operation process of freeze-drying samples of laboratory freeze dryer:
1. Items freeze-drying operation
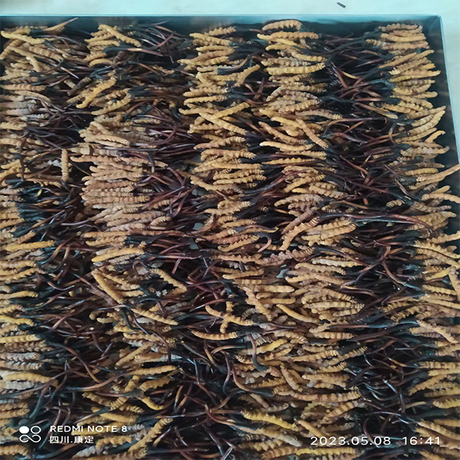
1) Sample placement:
A. Place the pre-processed items in the material tray, and then put the material tray in the freeze-drying rack.
B. Place the temperature sensor on any layer of the material tray to measure the temperature of the material.
C. Put the freeze-drying rack into the cold trap, cover the insulation cover, and prepare for pre-freezing.
2) Sample pre-freezing:
A. Turn on the main power switch on the back of the device.
B. Tap the center of the screen to enter the interface, and then tap the "refrigerator" button to start the pre-freezing. It is recommended to pre-freeze for about 4 hours
C. After the items are completely frozen, take the freeze-drying rack out of the cold trap.
3) Sample drying:
a. Take the freeze-drying rack out of the cold trap, then place the freeze-drying rack support plate on the cold trap opening, place the freeze-drying rack on the support plate, or place the material tray on the freeze-drying rack, and then the freeze-drying rack directly Place it above the cold trap.
B. Place the probe on the material tray of any layer and cover it with a glass cover.
C. Tighten the drainage and inflation valve.
D. Click the "Vacuum Gauge" button on the screen, the screen shows that the vacuum is 110KPa, and then click the "Vacuum Pump" button to turn on the vacuum pump. The degree of vacuum drops rapidly, until the degree of vacuum is ≤10Pa, it is normal, and the drying officially begins (it is recommended to dry for about 20 hours, and the specific moisture content of the material is determined by the user).

4) Take out the sample:
A. Check the sample curve and visually check that the sample is completely dry. After opening the drain and inflation valve, click the "Vacuum Pump" button to stop the vacuum pump. Click the "Vacuum Gauge" button to turn off the vacuum gauge.
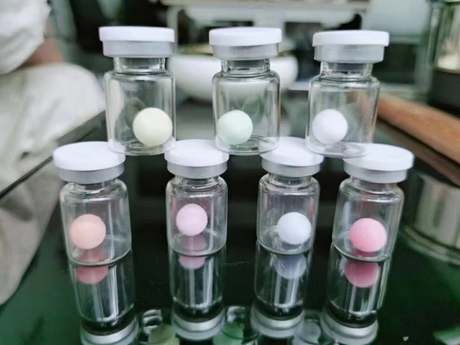
B. Remove the glass cover, take out the material tray from the freeze-drying rack, and pack the samples in the tray. Click the "refrigerator" button to turn off the compressor and the equipment stops running.
5) Shutdown operation:
A. Turn off the main power switch and power off the control system of the whole machine.
B. Unplug the power plug and vacuum pump plug.
C. Wipe the cold trap, freeze-drying rack, tray and glass cover with a soft cloth.
D. When the vacuum pump is not working, please cover the exhaust hole to prevent dust from entering.
6) Drainage operation:
A. After the ice condensed on the inner wall of the cold trap is completely melted into water, unscrew the drain and inflation valve to drain the condensed water.
2. Electric defrosting operation
This item is generally an optional feature: turn on the electric defrost switch on the rear panel to defrost. This function will automatically stop after heating for a period of time (15min~20min). If the ice layer has not completely melted the water, turn on the switch again. After defrosting, turn off the defrosting switch and the main power supply.
3. Instructions for freeze-drying operation
S type operation (standard type)
1) Put the sample in the material tray, then put the material tray on the freeze-drying rack, place and fix the sample temperature sensor, put the freeze-drying rack into the cold trap, cover the heat preservation cover for pre-freezing, and pre-freeze to The sample is completely frozen and kept for a period of time.
2) Take the pre-frozen material pan together with the freeze-drying rack out of the cold trap, and place the support tray above the opening of the cold trap, place the freeze-drying rack on the support tray, and cover with a glass cover.
3) Tighten the inflation valve, click the "Vacuum Gauge" button on the screen, the screen shows that the vacuum is 110KPa, and then click the "Vacuum Pump" button to turn on the vacuum pump. The degree of vacuum drops rapidly, and it is normal when the degree of vacuum is less than or equal to 10Pa.
4) After a long period of drying operation, check the sample curve and visually check that the sample is completely dry. After opening the vacuum charging valve, click the "Vacuum Pump" button to stop the vacuum pump. Click the "Vacuum Gauge" button to turn off the vacuum gauge.
5) Remove the glass cover and take out the material tray from the freeze-drying rack. After the samples in the tray are packed, the general configuration and drying are completed. Click the "refrigerator" button to turn off the compressor and the equipment stops running.